Tutorial
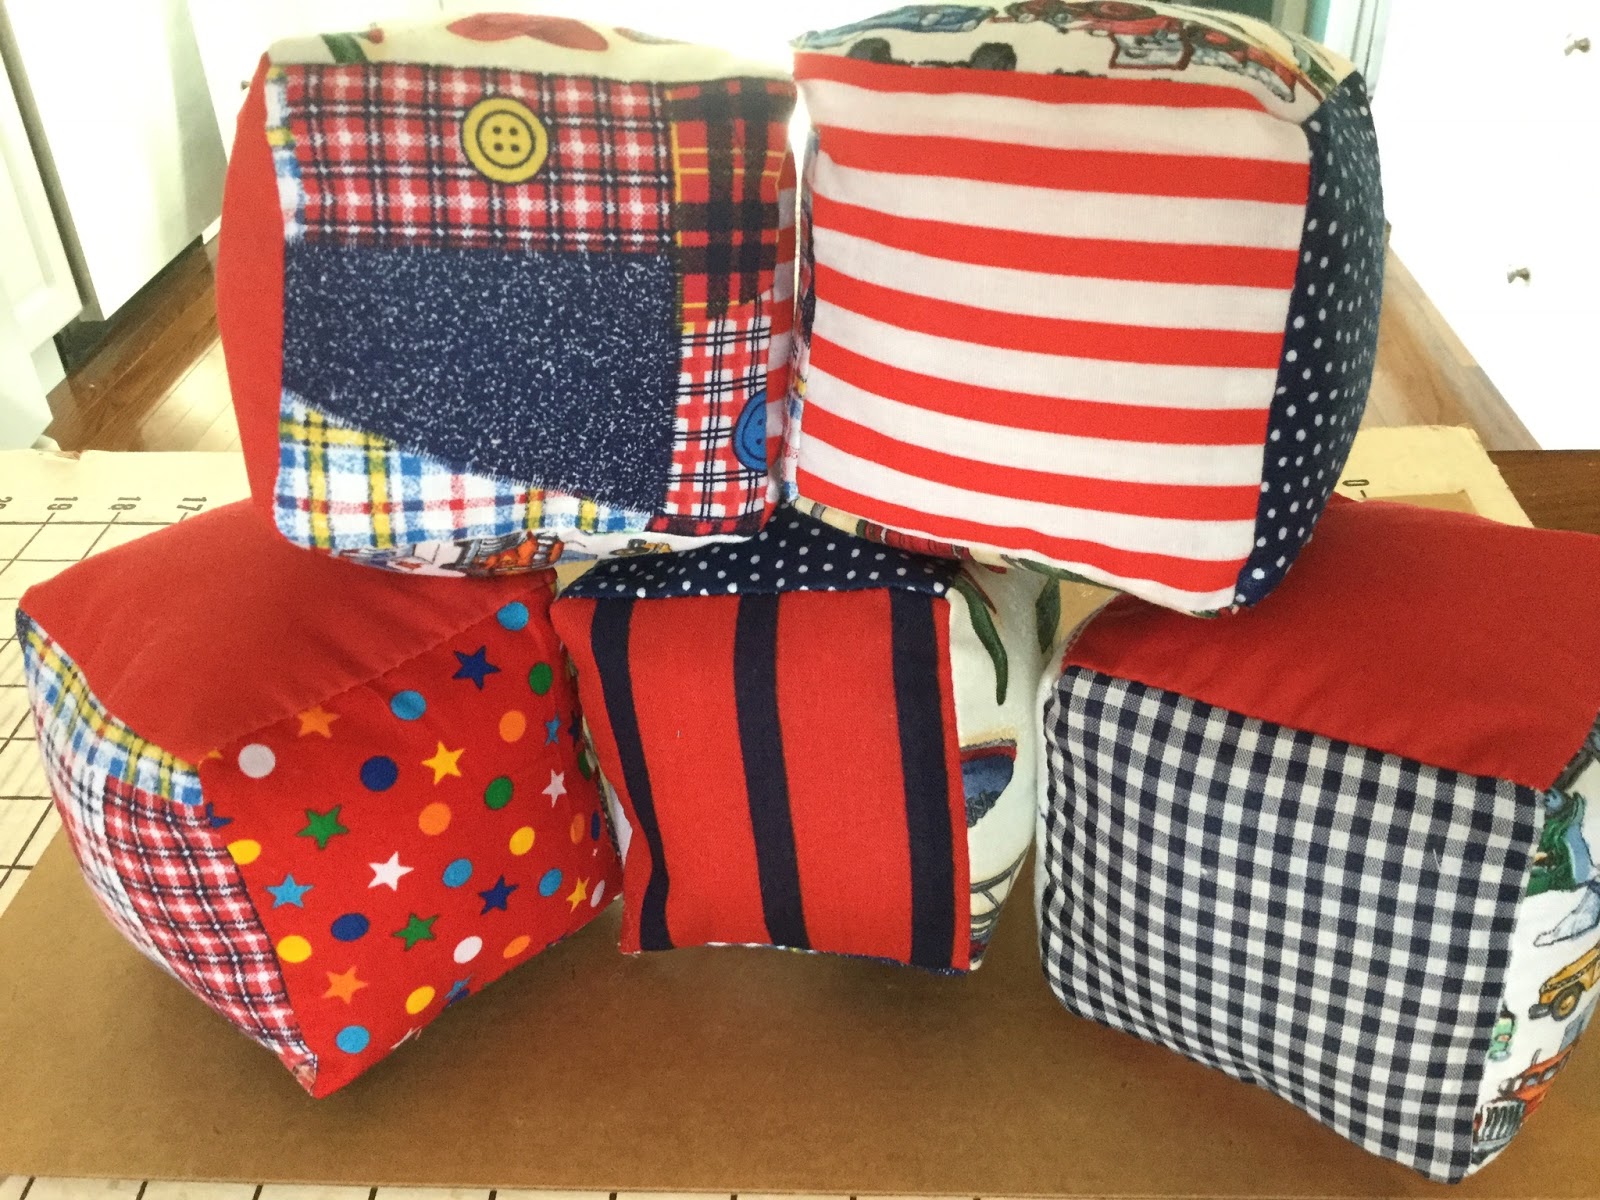
Baby Blocks

Made these when my daughter was a baby.
I was one bell short so didn't put a bell in one block.
Every morning that block was on the floor outside her crib.
She knew a defective toy when she saw [or didn't hear] one!
What do you need?
Scraps of fabric
Fibrefill
Bells
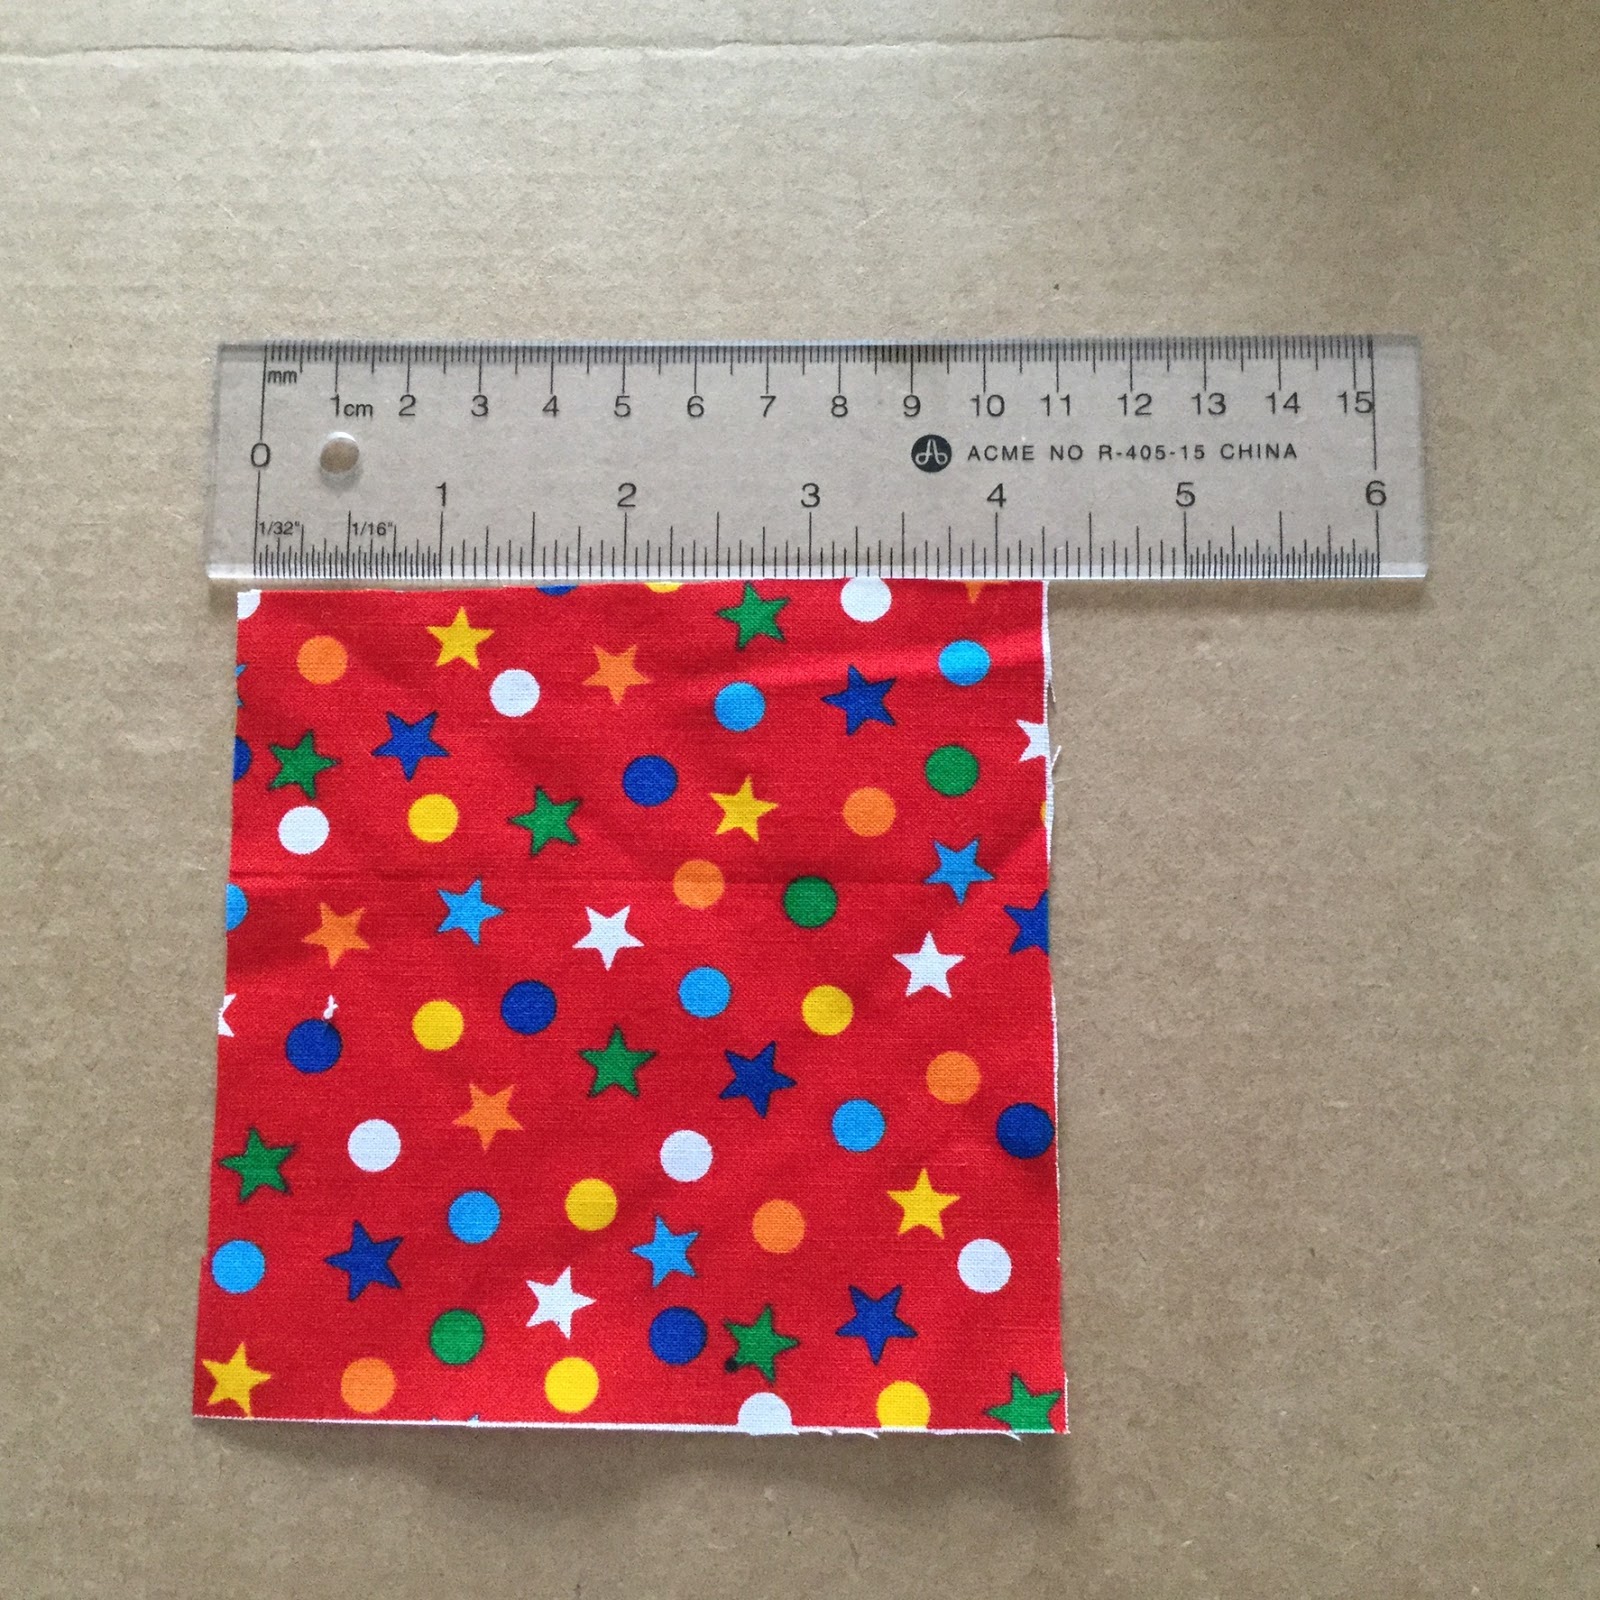
I started by creating a pattern from a piece of paper.
It is 4.25 x 4.25 inches square.
(11 x 11 cm)

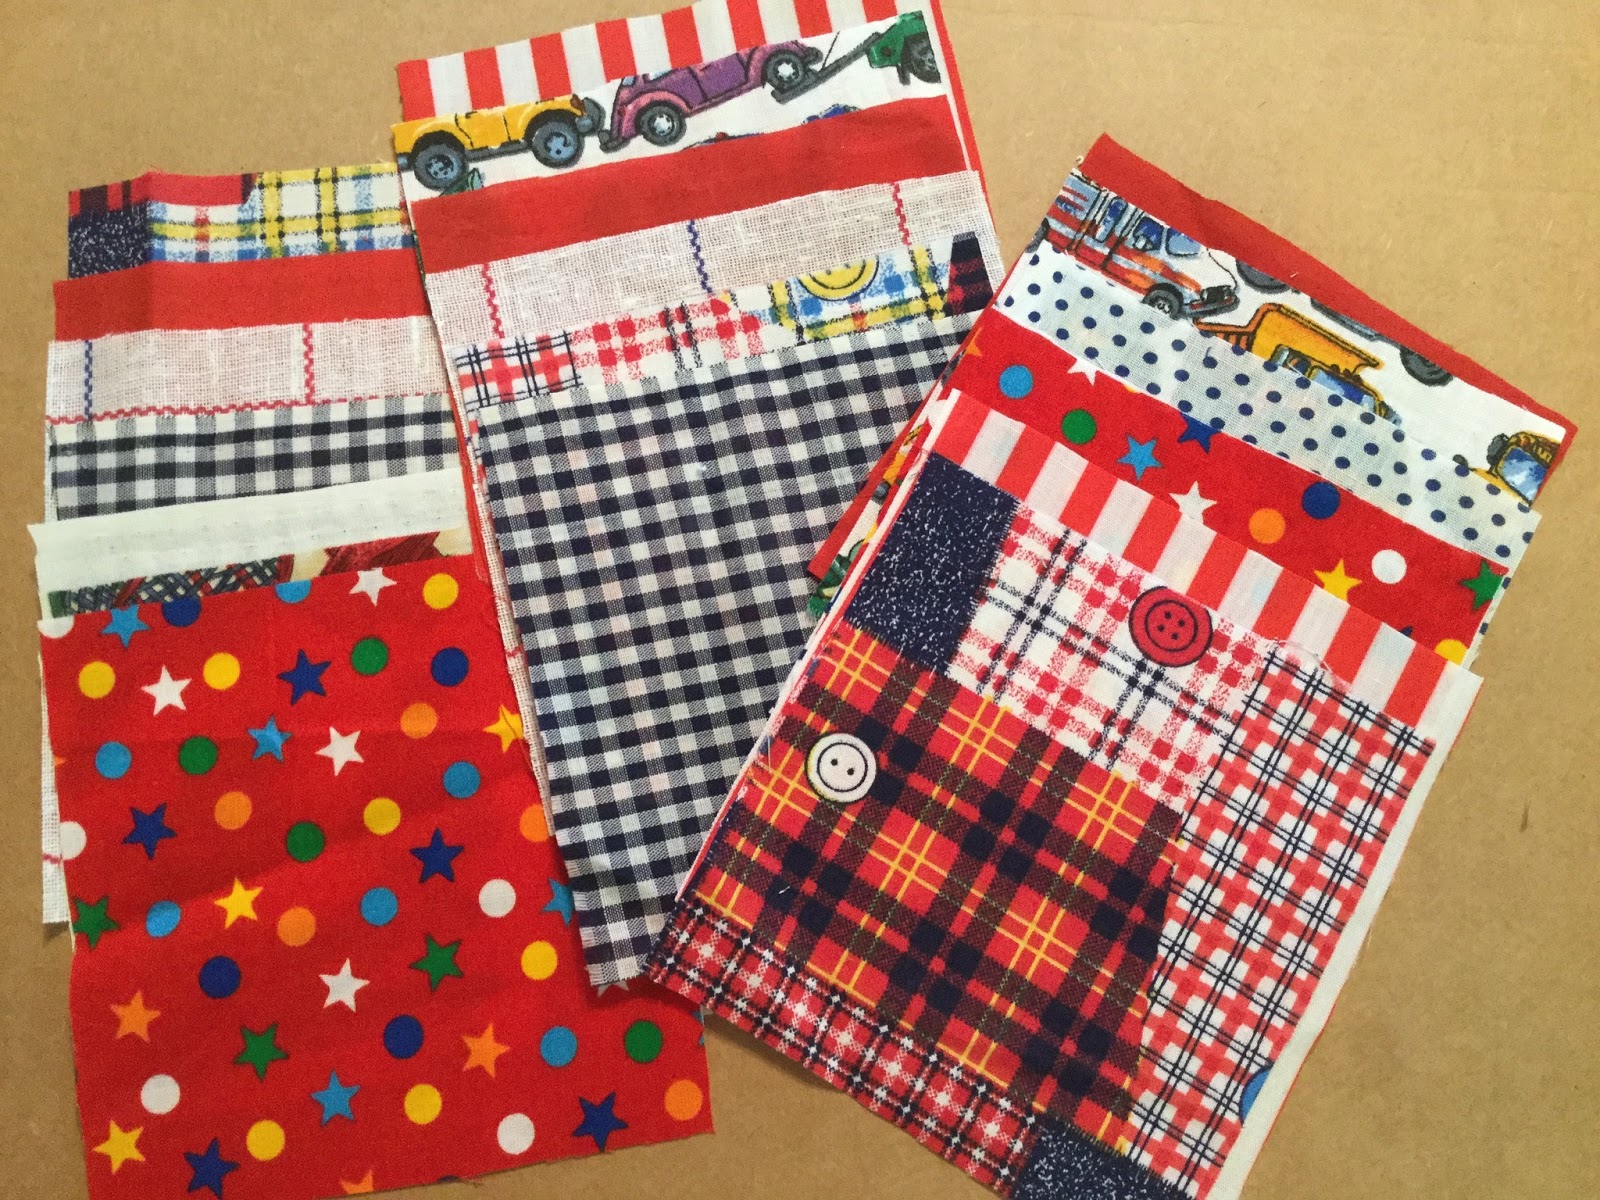
Cut squares with your pattern. You will need 6 squares per block.
Here are sets of squares for 3 blocks - 6 squares each.
Pin the squares right sides together.
I usually start by choosing one square and pinning 4 others around it.
Then add the last square as in the photo below.

I sew with a 1/4 inch seam. You want to start sewing 1/4 inch from the edge. Do not sew right to the edge at each corner.

Beginning with that one square that has other squares on all 4 sides.
Sew one seam, being careful NOT to sew right to the edge of the corner.
Lift your sewing foot.
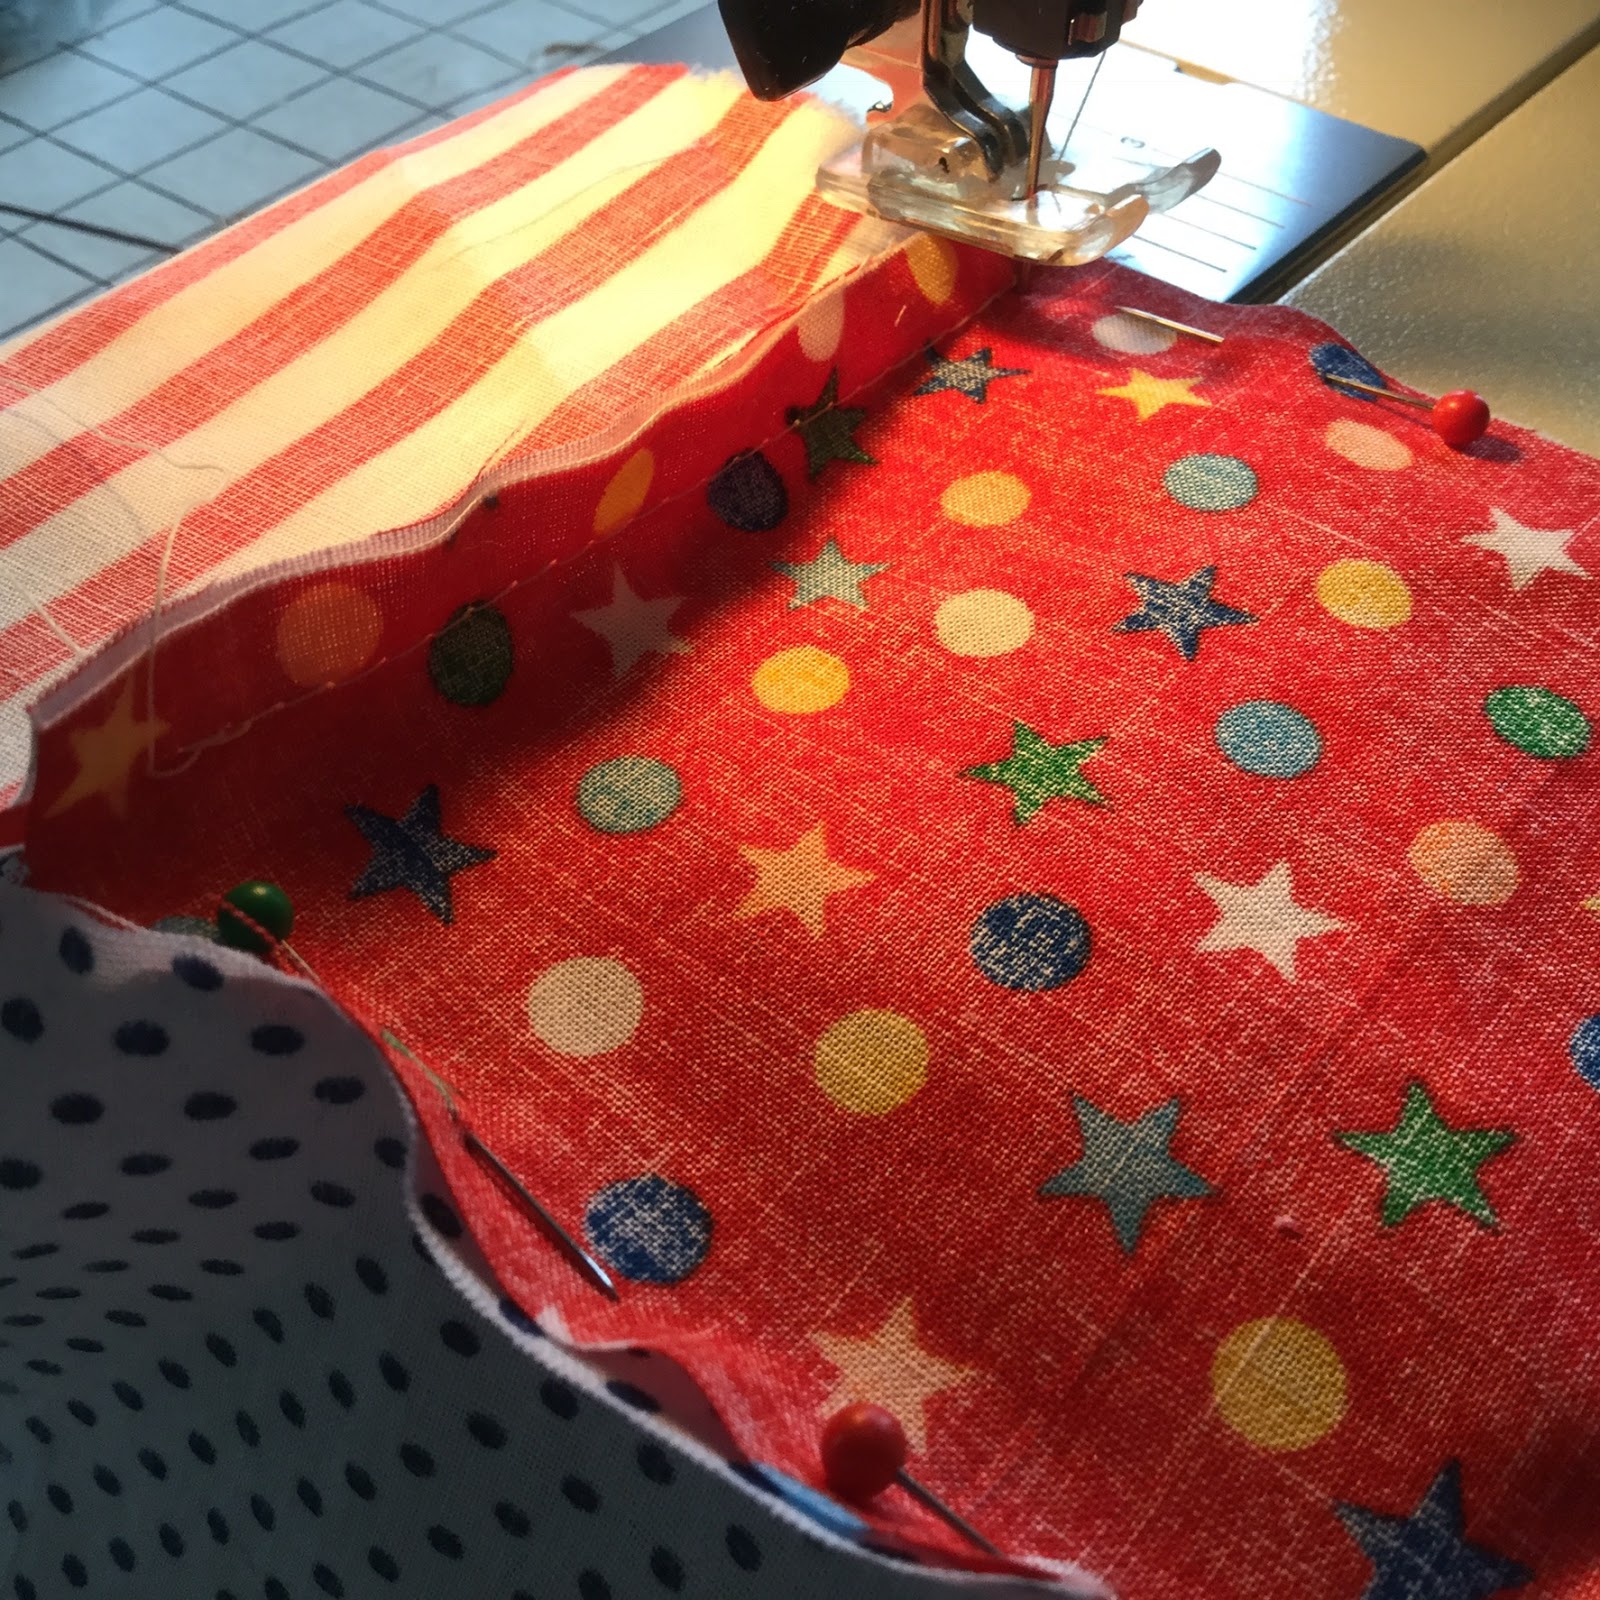
Now position your next square of fabric for the next seam.
Again, start 1/4 inch from the edge in the corner.
Sew that seam.

Continue in this manner for those 4 seams around the main square.
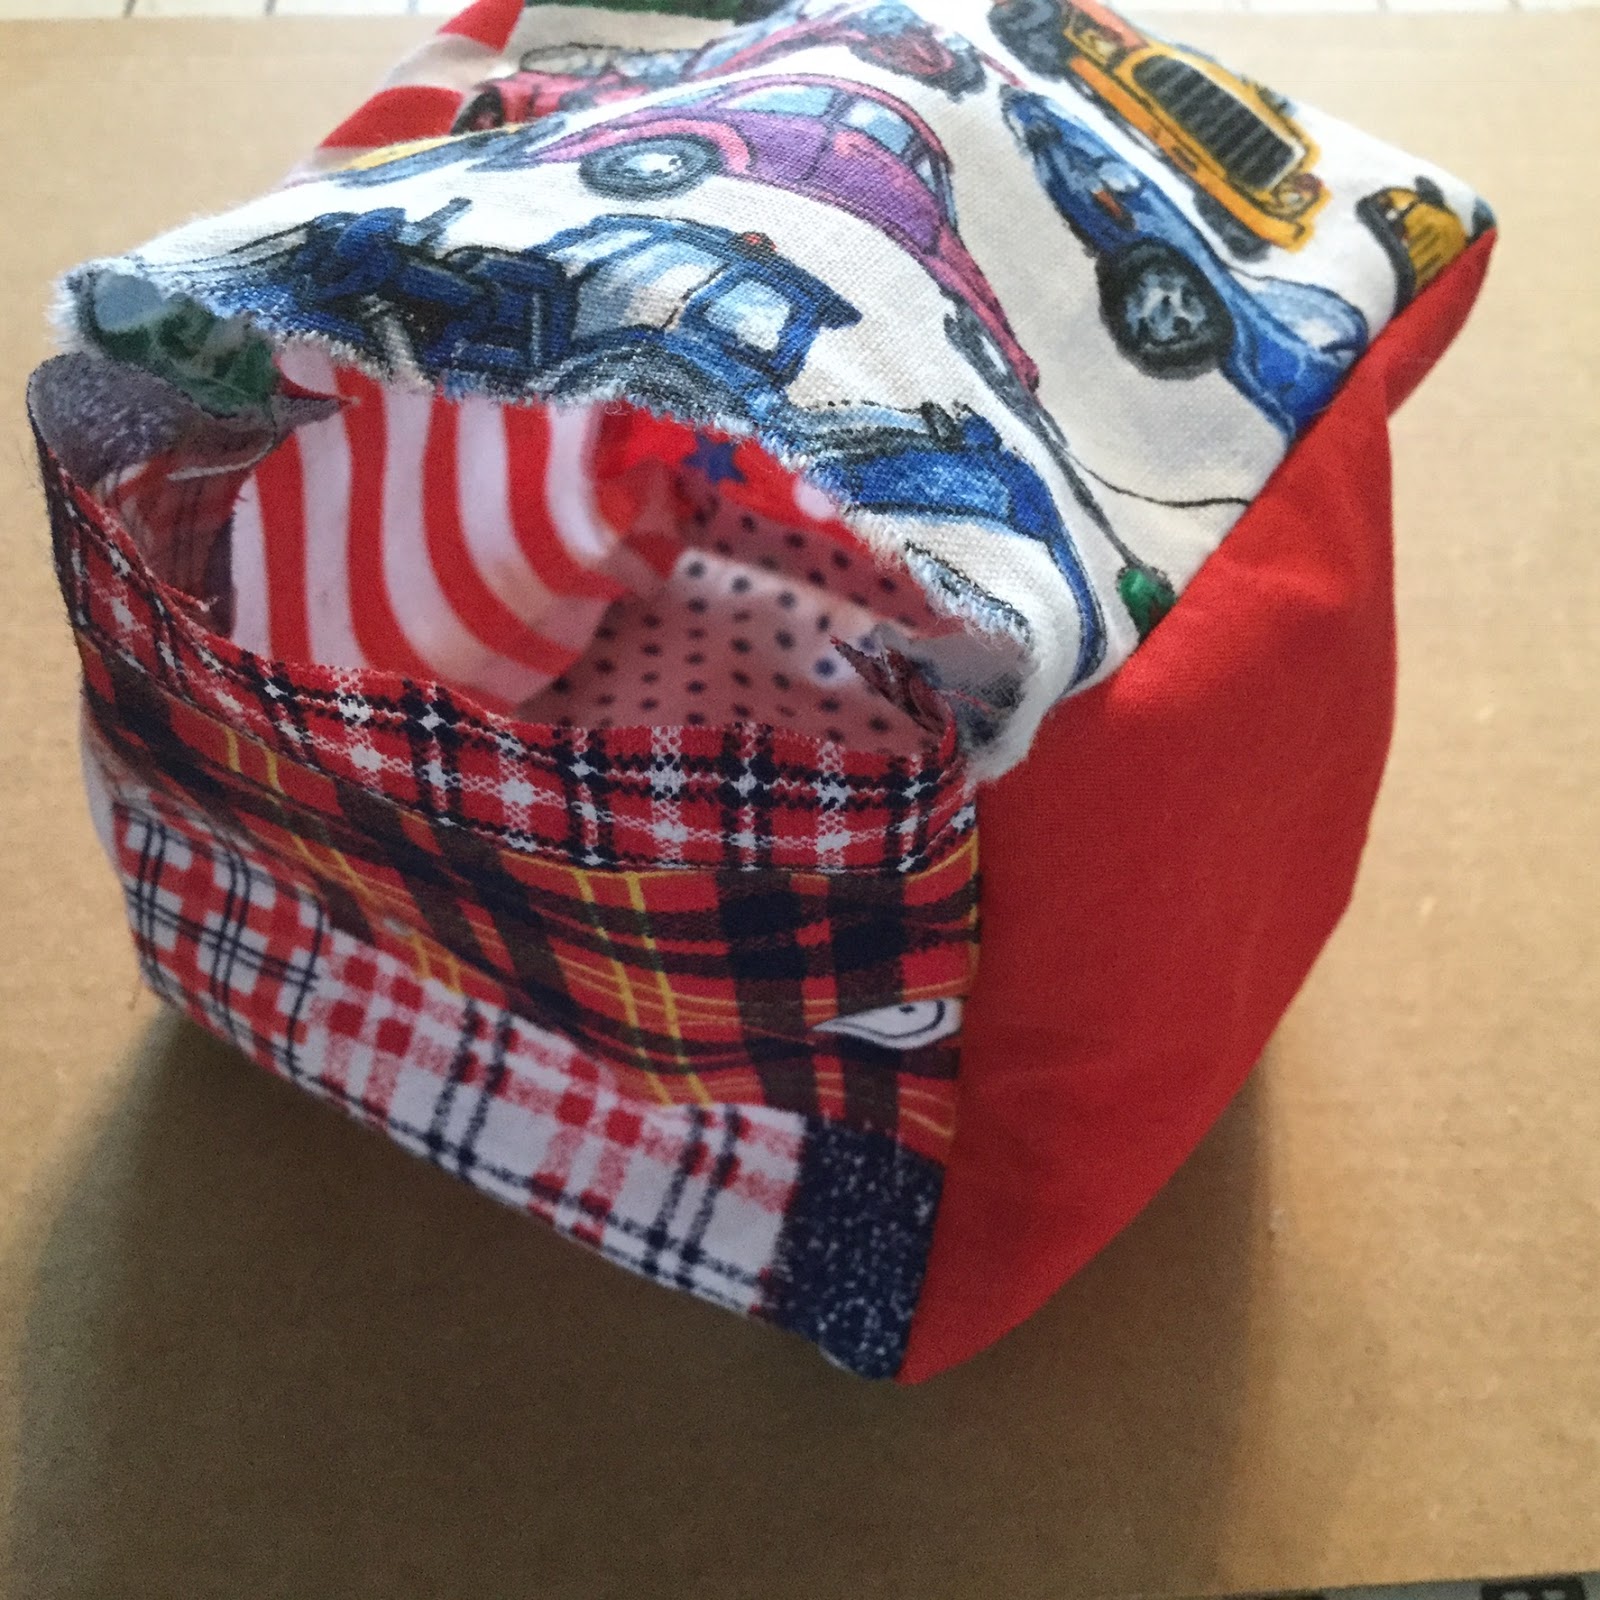
Now pin the remaining seams to make your block, being sure to leave ONE SEAM OPEN.
Check now.
Did you leave one seam unpinned?
Yes.
Okay, sew those seams.

Here is what the block looks like with one seam left open.

Turn the block right side out.
Now, add fibrefill into the block.

Add a bell in the centre of the fibrefill.
Make sure you can hear it.
Don't stuff too tightly around it.
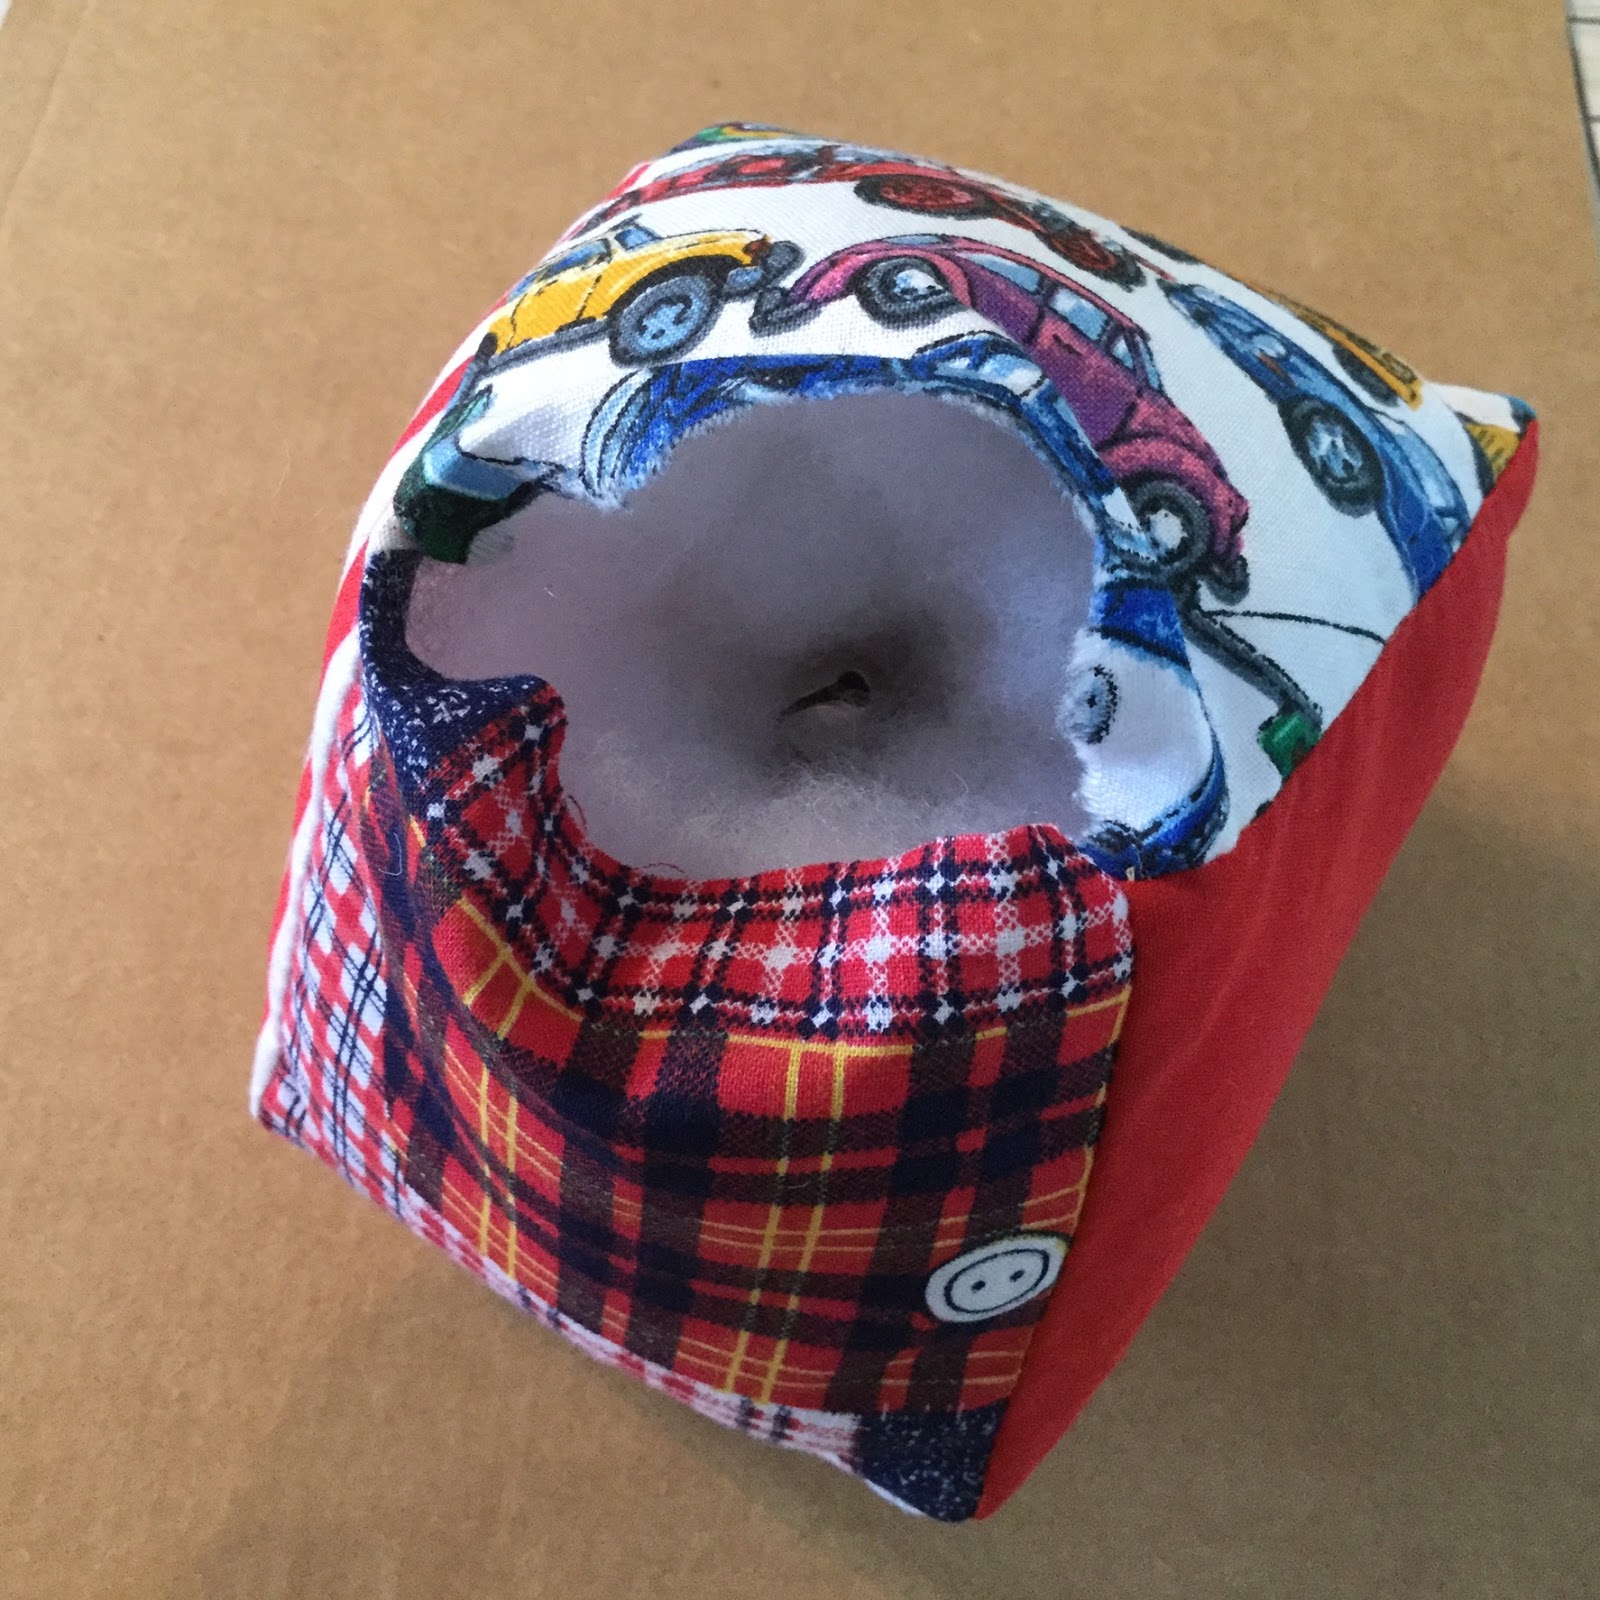
Pin that last seam closed.
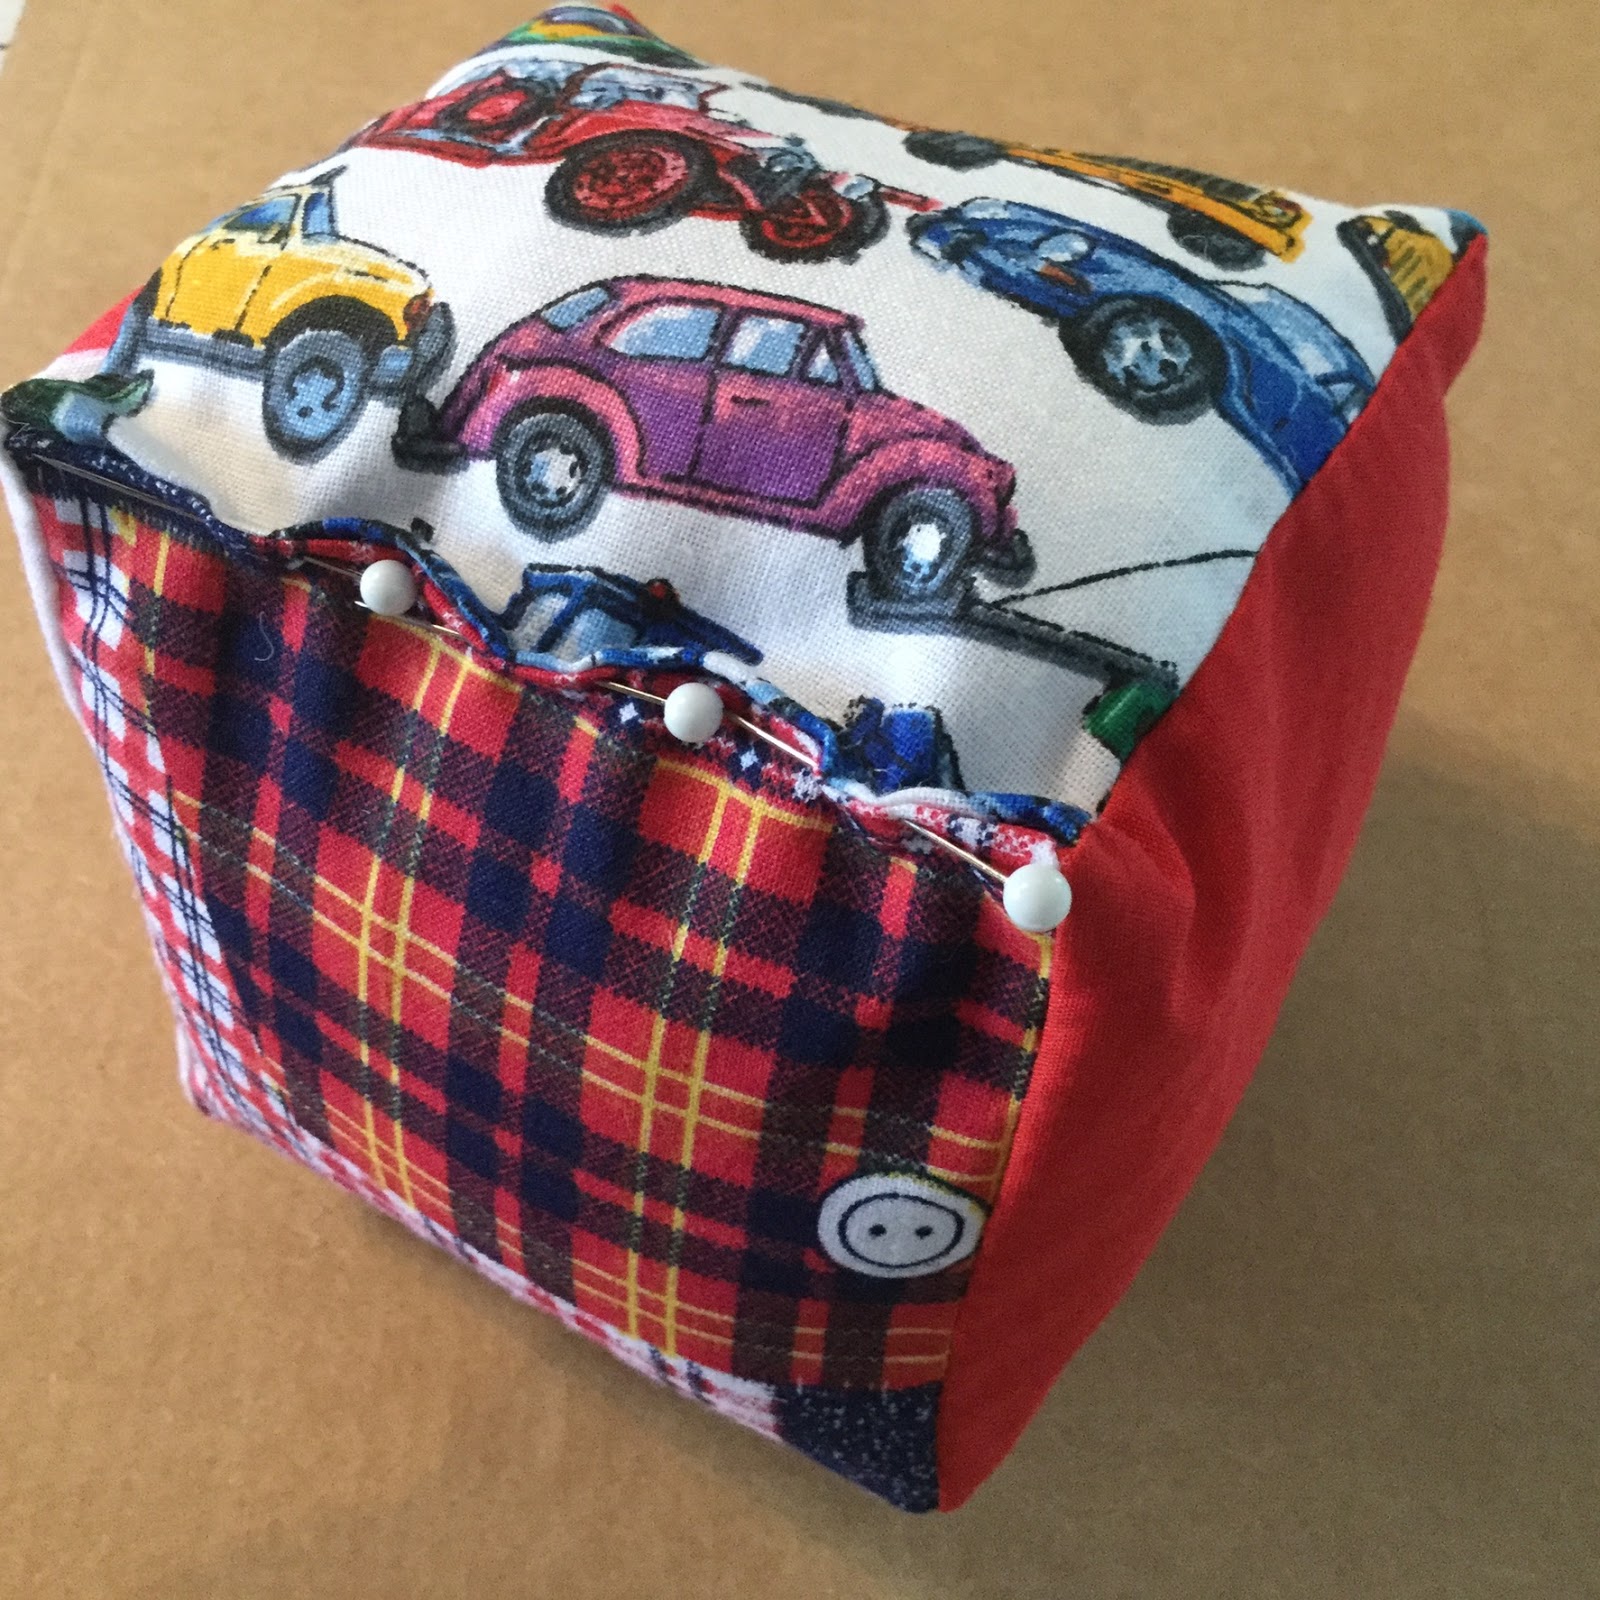
Either sew it with your sewing machine, close to the edge.
Or hand sew to close.
No comments:
Post a Comment